Hi everyone. Another post about UI creation for dynamo with the Data-Shapes package. The focus is this time on the ListView input because itl has gained a lot more flexibility in the latest update (2017.05.05). This post is to document those changes and enhancements.
New functionnalities are optional:
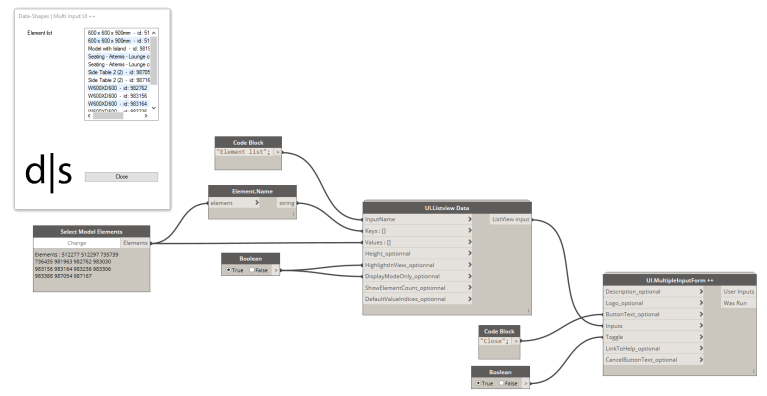
The new functionalities of the ListView input are all optional. You can still use it in the same way you did with previous versions of the package: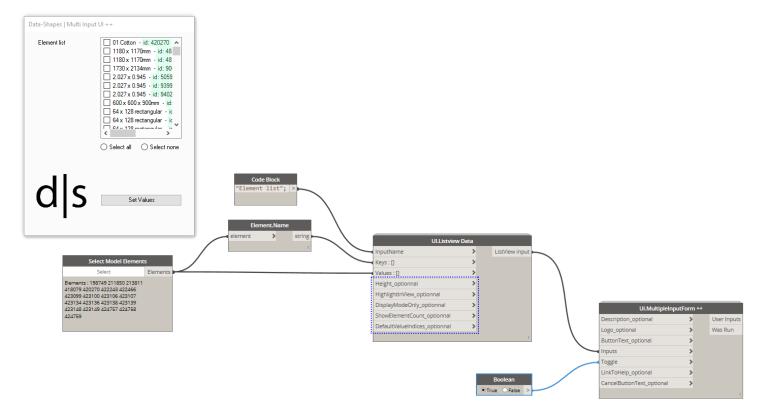
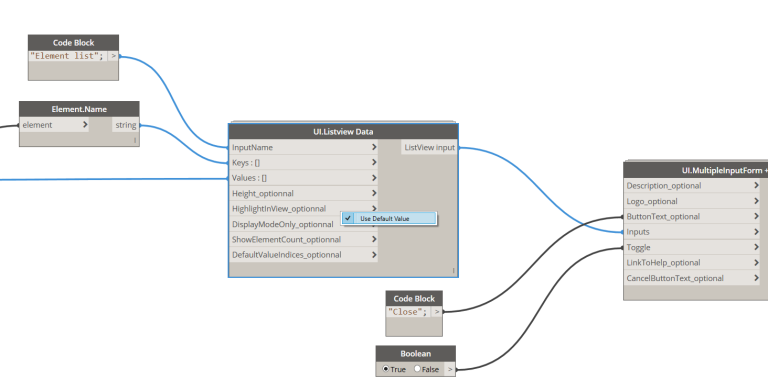
Important note: If you update the package, you’ll have to make a little manipulation on pre existing scrpits using the UI.ListView Data node : You’ll have to right clic the new optional inputs and check “Use default value”:
Once you activate the default values for the four new optional inputs, the script will function normally. You won’t need to do this when using new instances of UI.ListView Data nodes.
Now that this has been said, I will introduce the new functionalities:
Highlight In View functionality
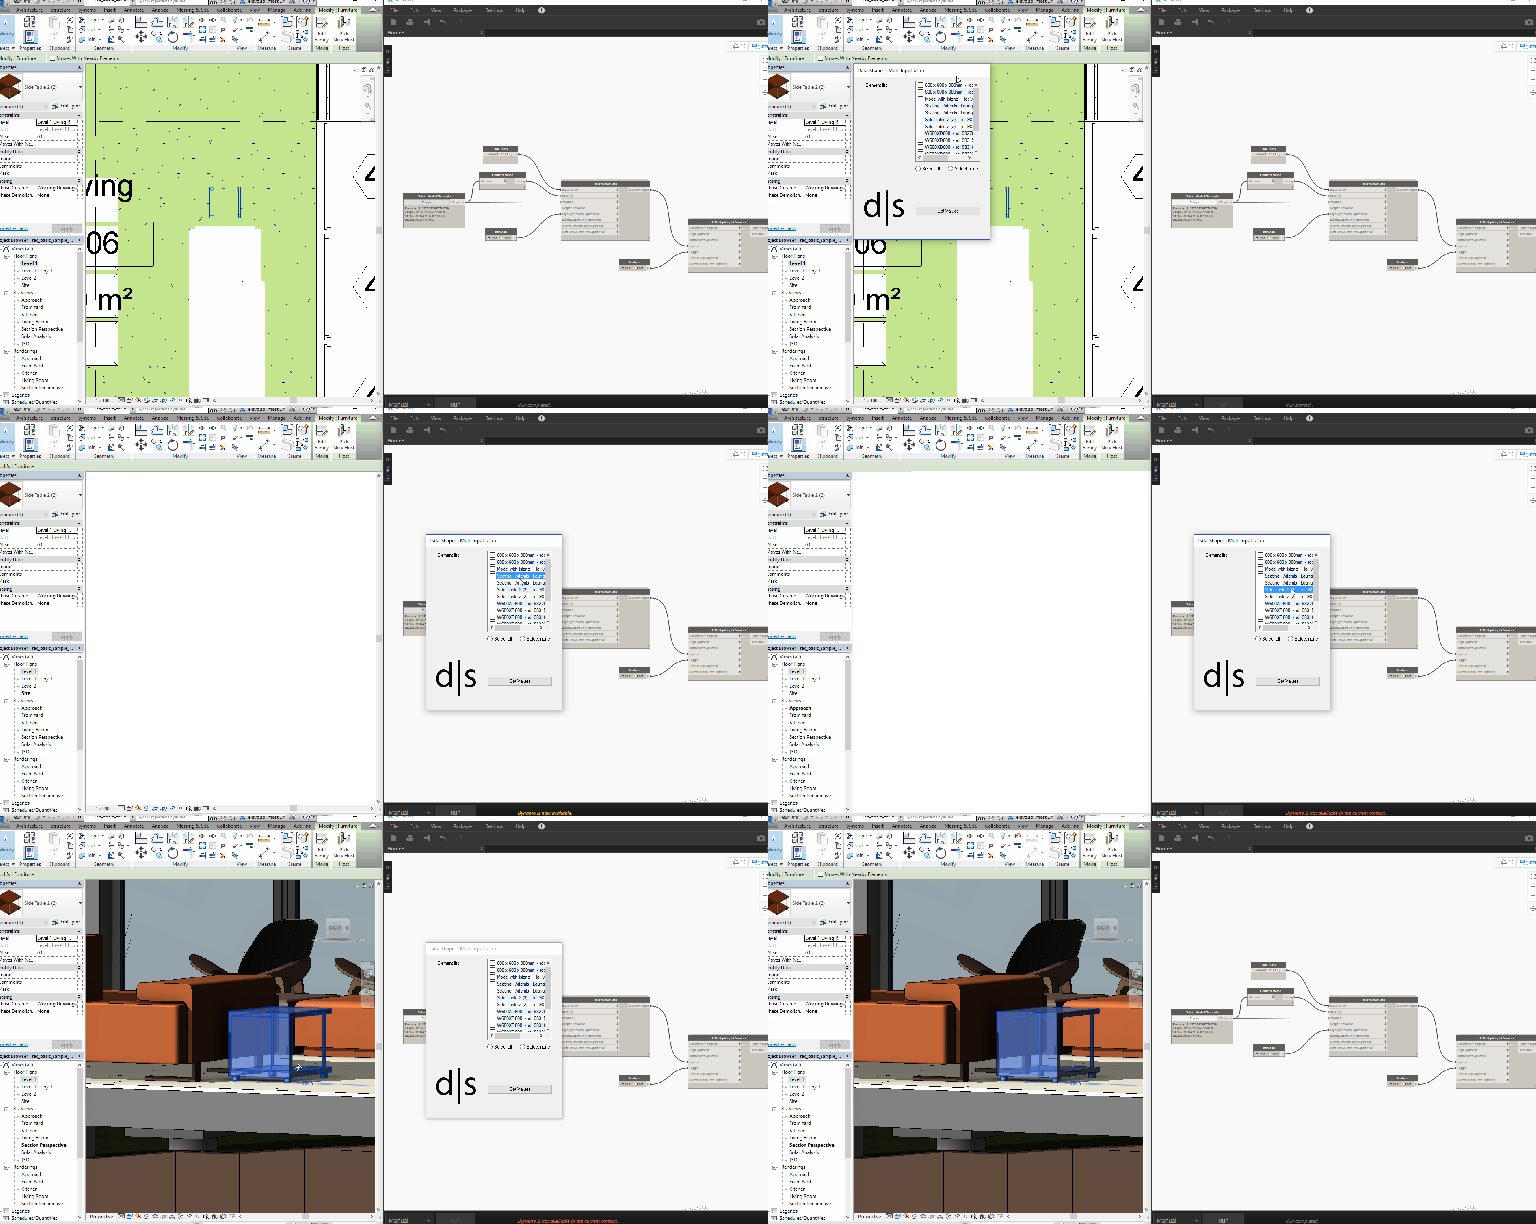
If you set the “HighlightInView” input of the node to true, the listview will function in a similar way to a Dynamo watch node. Not only will it display the elements, but clicking an item on the list that represents a revit element will highlight the element in an appropriate view in Revit. Clicking the same listview item multiple times will browse Revit views containing the element and center these views on the element:
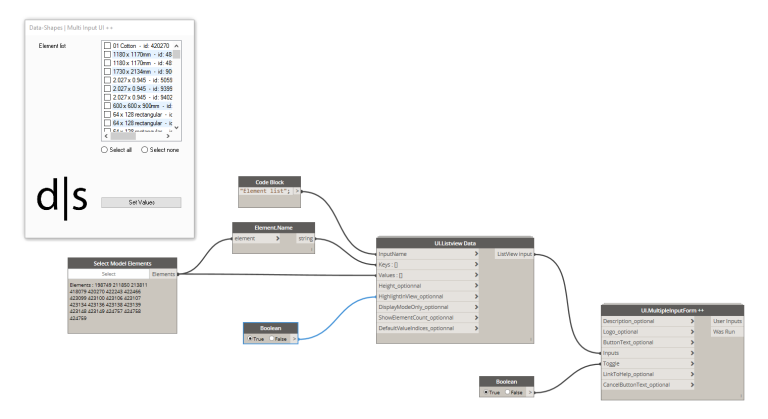
Here it is in action:
Display Mode functionality
This functionality was added by Andreas Dieckmann (@a_dieckmann) – the Data-Shapes package is open source, you can now find all the code on my github repository, fork it and submit pull requests. This was made possible with Adreas’ help, so a big thanks to him!
The Display Mode functionality is activated by setting te “DisplayModeOnly” input to true. It will turn the ListView into a display panel without checkboxes. When the ListView is on display mode, it won’t return anything to the list of outputs of UI.MulitpleInputForm++ (just like UI.TextNote and UI.Image), making it a great tool to display lists of data to the user of the script:
You can of course combine DiplayMode and Highlight in view functionalities to give the user a perfect way to browse elements of interest for your script:
Show Element Count
This functionality was added by Andreas Dieckmann (@a_dieckmann) . It allows to display the number of elements in the list right under it’s label:
Default Value Indices
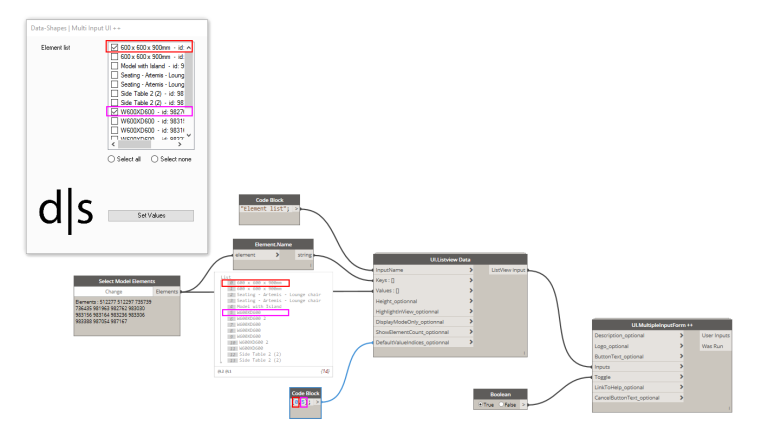
This functionality was added by Andreas Dieckmann (@a_dieckmann) . It allows to set some default values to a ListView by specifying their indices. Those elements will have their checkboxe checked by default:
I hope all of this helps you build better tools! Feel free to leave your comments and suggestions here or on the github repo!



Yess!! fantastic as usual Mostafa
LikeLiked by 1 person
hello, when I tried your highlight in view node (set to true) and clicked on it in revit. It just sat their for over an hour and I had to kill it. Is this the way it is supposed to work?
LikeLike
Haha not exactly no.. can you provide more info ? What kind of element is it ? Software version ? Or maybe a dummy file that reproduces this behavior ?
LikeLike
Hi Mostafa,
I noticed that this listview option always rearranges your list into alphabetical order and the output stays in alphabetical order rather than the input order. Is it possible to add a “preserve order” boolean to the listview data class and a check in the multiuserinput node?
I believe you’d then just need to add an if statement here, thought tbh I’m not super clear on what’s going on with the code to make the change myself:
(line 424 in the multiuserinput++)
lv.View = vi.Details
lv.Sorting = SortOrder.Ascending
LikeLiked by 1 person
And by the way, since I forgot to mention it, these nodes are awesome. I was about to start working on something similar when I found this. Thank you and everyone who contributed, this makes the Dynamo Player a million times more useful.
LikeLiked by 1 person
Hi Jason,
thanks for your message 🙂
I agree that in some cases it’s important to keep the order of your list. In the latest version of the package, you have an extra input to the ListView Data node that lets you decide wether you want to sort the items or not.!
LikeLike
I really like the way the multiple input works however I have came across 1 item, I was writing a graph to add a prefix to a dimension style. I managed to get the UI.Dropdown Data to work and it shows in the UI.MultipleInputForm++ and I am able to select The Dimension Name from the drop down list and add an item for the prefix (ie +/-) and when I run the graph it will only add the prefix to the last dimension placed not to all of the dimensions with the same name, so I am stumped at the moment.
LikeLiked by 1 person
Hi Brent,
thank you for your message! I think your issue has more to do with list management / lacing than with the UI nodes. You should desribe your issue on the dynamo forum, I’ll be able to help you there.
LikeLike
Thank you for providing this amazing package! Incredibly useful. I have a few feature requests for the next version:
– Have an option to not show a logo
– Have an option to change the title of the window
– Option to have an X on the window that triggers the cancel command
– A way to insert text (descriptions) between the fields. Some scripts are rather complicated and require a detailed explanation next to some parameters.
Great work!
LikeLiked by 1 person
I have found how to add a textnote so my last comment has been resolved 🙂 However, an option to divide the Form into different parts (for example by titles with a horizontal line) would be very helpful. I have a script that creates three different elements, each element has a series of options. I have used the textnote to divide it up, but because it’s still not super clear what parameters go with what section.
LikeLiked by 1 person
Hi Pieter ,
Thanks for your message! I’m very glad you find the package useful to your work.
– In order to not show a logo, you can feed the “Logo_optional” input a false boolean (or actually any invalid file path will do … false will just look more clean).
– I think I will add the possibility the change to title of the form. The reason behind keeping the name of the package and the node was just to make it more recognizable.
-the “X” button was deleted because it was a hazard. In some conditions, closing the form with it could crash Revit.
-TextNode is indeed the right input to add descriptions. I am currently working on a way to group inputs in panels, will probably release this week end or next week. Stay tuned! 🙂
LikeLike
Hey pieter, just wanted to let you know that you can now group your inputs with “UI.Inputgroup Data” (version 2017.6.7 of the package) 🙂
LikeLike
You’re the best. I’ll give it a test asap. Is there anything specific I need to watch out for?
LikeLike
It’s used like this : https://drive.google.com/open?id=0B9v9Y2txZ3IeVVV2eWJZZDVXXzQ
LikeLike
Seems straightforward! Does this mean the output comes in the form of a nested lists or is the output unaffected?
LikeLiked by 1 person
That’s a very good question 🙂 So far no the results of grouped inputs are not in nested lists. I think it’s easier this way.. Waiting to get feedback on that !
LikeLike
Great to hear. I prefer a flat list over a nested one.
LikeLiked by 1 person
Thank you for the nodes. Just a quick question is there a way to adjust the width of the UI box to show more of the element name?
LikeLike
Hi Stephen ,
Sorry for the very late reply! For some reason I didn’t notice your comment..
The “Width” input on the UI.MultipleInputForm++ should get you where you want (courtesy of Andreas Dieckman :D)
LikeLike
It’s a great node. Its very useful. But i wonder is there a way to save the data input of the previous run to the next run of the same node? I think it will help improve the speed of work more. In my case, I have to run my scrip many time with many input data for each run. I hope best new from you.
Thanks for the node.
LikeLiked by 1 person
Hi NDH,
thanks for your message and sorry for the very late reply. I understand what you say. What I will most probably implement in the future is an “apply” button that applies changes but doesn’t close the form, like the buil in revit user interface windows. This should improve your user experience .
LikeLike
I love this package!
A suggestion for future versions: we’ve been making some scripts with really long selection lists (for example, a script that lets you select sheets from all the sheets in the project). It would be helpful if there was an option to have a searchfield at the top of the list.
LikeLiked by 1 person
Hi Pieter, thanks for the message and the suggestion. I might implement this in the future. For now, you can press a letter on your keyboard and it’ll take you closer to the element you’re looking foor.
LikeLike
Amazing package =) i use it for all my scripts.
An addition to this package that would even make it more useful is to add a TreeView with Checkboxes to it.
This way you can filter your input data, for examle:
input = a selection of elements (for instance from active view)
the node can filter this selection by the following trees:
– Category
– Family
– FamilySymbol
This way you can quickly filter through all the elements you want to include in your script.
Hopefully you’ll consider this wish, i’m looking forward to your thoughts about this.
~Marlo
LikeLiked by 1 person
Hi Marlo,
Thanks a lot for the kind words 🙂
I’ve been working on this and it should be available pretty soon. I’ll make a post to document it as soon as it’s ready and published. Stay tuned!
LikeLike
Thank you! that is great news.
I’m looking forward to building my filter-script and AutoTag-script to have this functionality. It would really improve those tools so much.
LikeLike